
Striped Pasta -Tutorial
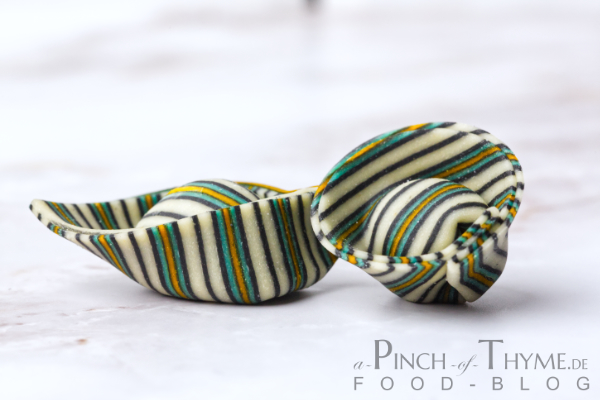
Welcome to my latest tutorial, in which I reinterpret the beautiful world of pasta. During my extensive research on the subject of pasta, I came across a fascinating article in the German newspaper Süddeutsche Zeitung Magazine titled “Kunst für den Kochtopf“. This tells the story of David Rivilio and his remarkable pasta art. His work inspired me to delve deeper into the subject and explore further possibilities to transform pasta into a work of art.
The first attempt
In my search for alternative methods, I came across the use of polymer clay, a material often used to create such patterns. I decided to try it out myself and started with a simple stripe pattern in red, green, and black to see if the technique works.
After this initial test was successful, I decided to try out more patterns: a cheerful rainbow pattern for colorful pasta (for which I will soon create a separate tutorial), an elegant black-and-white pattern with finer lines than in the first attempt, and finally a complex stripe pattern with three different stripe widths, the thinnest stripe being only 0.3 mm thick.
Now, I am excited to share this experience with you. In this tutorial, I will show you how to make your own striped pasta dough. Stay with us as we redefine the boundaries of culinary art together and transform pasta into a visual feast!
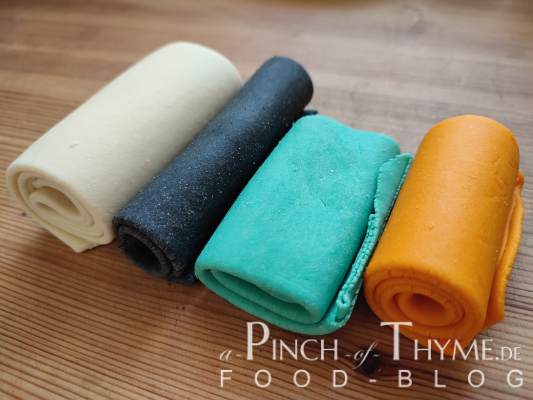
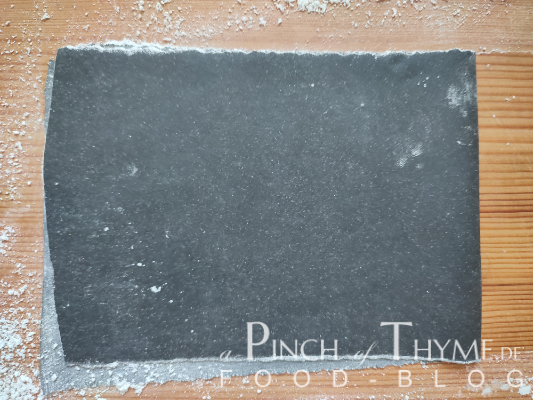
First and foremost, we need dough in different colors. Here, I used 22.5 g of water for 50 g of semolina. I used Wilton food coloring for the colors. These are highly pigmented and do not affect our dough consistency. The only exception is black, for which I used pharmaceutical-grade activated charcoal. In the picture, you can already see the finished dough, rolled out, folded, and rolled out again multiple times with the pasta machine.
Afterward, let the dough rest, sealed airtight, for half an hour to an hour.
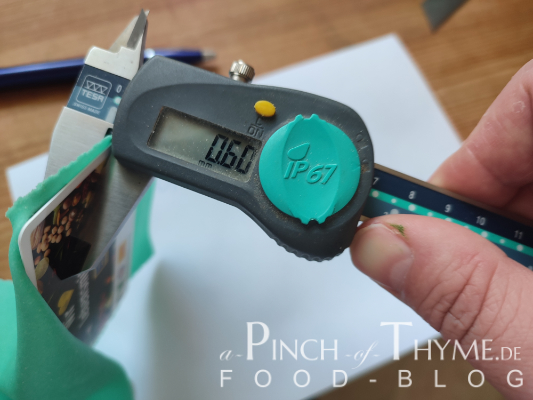
Now the dough must be gradually rolled out to its final thickness. For this, one must think ahead about how the design should look. With this design, I wanted the turquoise lines to be three times as wide as the uncolored lines. Here, you can see that the turquoise layer has a final thickness of 0.6 mm. Therefore, the uncolored dough must be rolled out to 1.8 mm.

Here I am applying cornstarch as a separating agent. This is for the following reason. With the pasta machine, I can only roll out the dough to 0.5-0.6 mm. That was too thick for me. But there’s a trick to achieve this. The dough is folded and rolled out again to the smallest level. Theoretically, the thickness should now be halved. I repeated this step one more time.
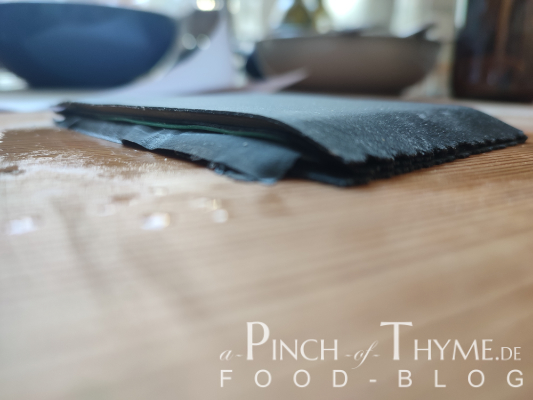
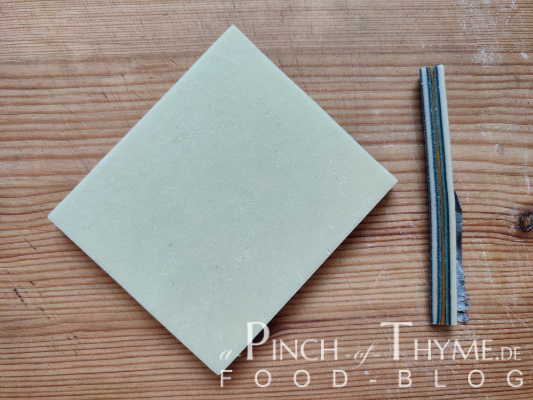
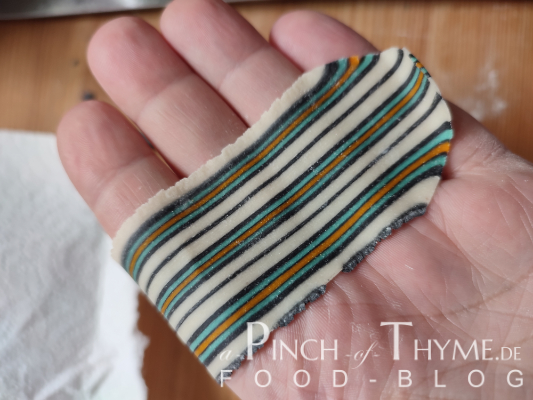
Here you can see the folded strip of dough.
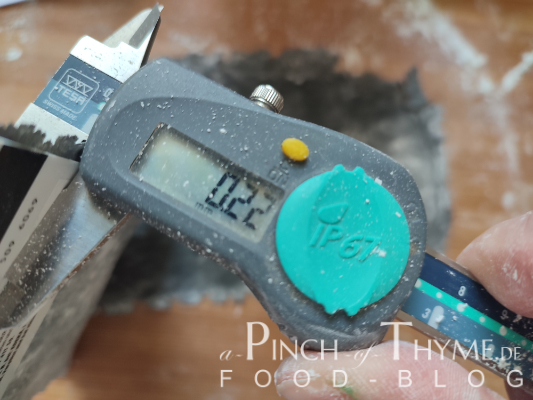
I got it down to 0.22 mm. After that, the dough was very fragile. Approximately 60-70% of it was unusable. Additionally, these very thin strips of dough dry out very quickly.
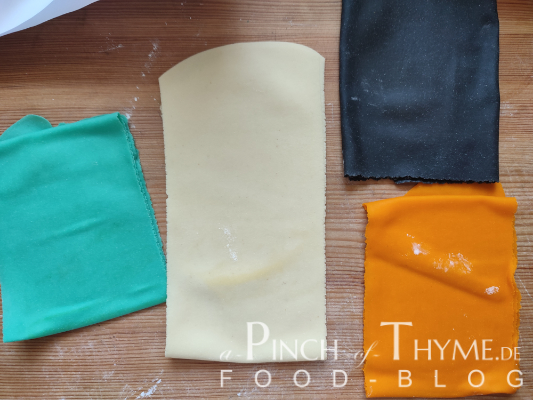
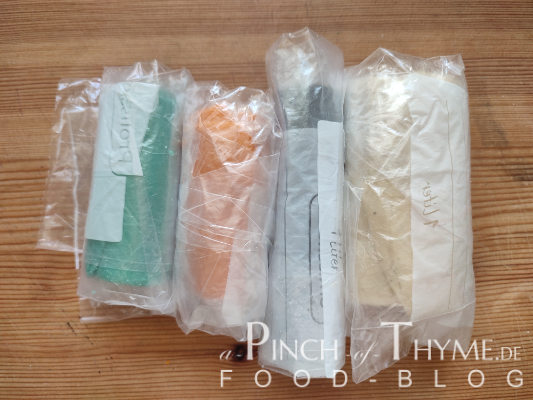
Here’s a look at the dough strips, rolled out to their final thickness.
- Natural: 1.8 mm
- Turquoise: 0.6 mm
- Orange: 0.6 mm
- Black_a: 0.6 mm
- Black_b: 0.22 mm (not visible)
Now the cut strips of dough are alternately layered on top of each other according to the pattern. It is advisable to moisten each layer with a spray bottle to ensure that the individual layers bond “well”. Spoiler: this sometimes only works semi-well. I had minor problems, especially with the very thin black layer. It could be due to the activated charcoal or the separating agent (I suspect the latter).
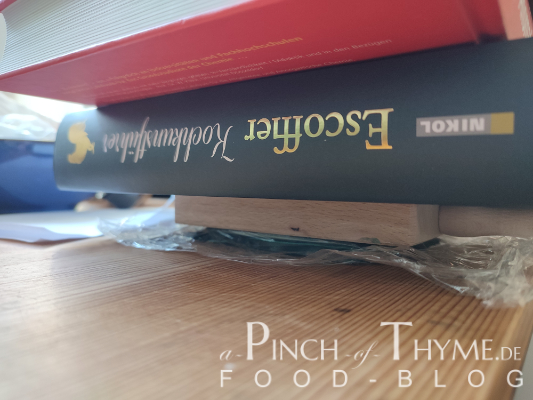
Cover everything well with cling film to prevent the dough from drying out, and weigh it down. The Escoffier and my textbook on General and Inorganic Chemistry should suffice.
Afterwards, trim all the edges nicely and cleanly. That already looks very promising.
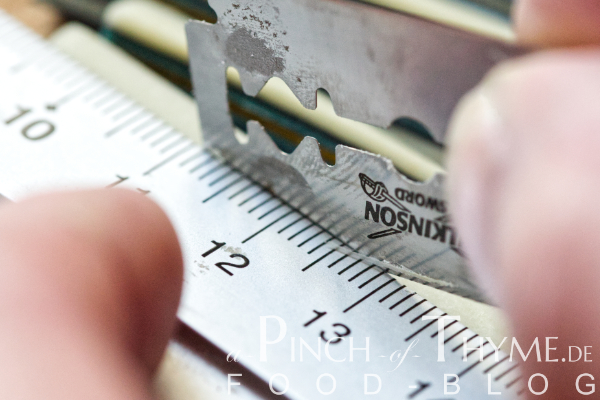
Now absolute precision is required. The block needs to be cut into equally wide strips. A razor blade has proven to be an effective cutting tool, with an aluminum ruler as a guide. A regular knife, even if sharp, would crush the layers too much.
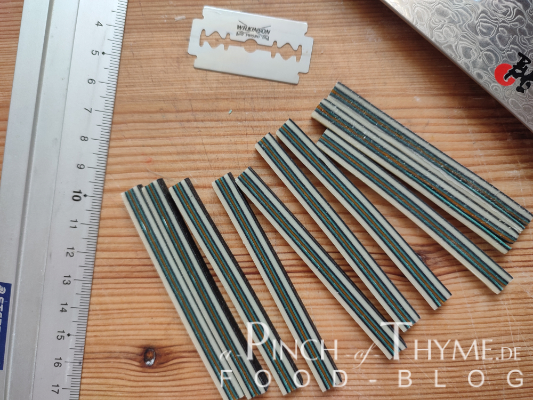
The individual strips are now placed next to each other so that the visible pattern is facing upwards.
Also, slightly dampen the strips and then GENTLY press them together. It’s best to use something to apply even pressure on the strips. Here, I use 10mm thick beech wood dough thickness guides. Cover with plastic wrap and let it rest for 20 minutes. Then, wrap it in plastic wrap and store horizontally in the refrigerator for at least one hour.
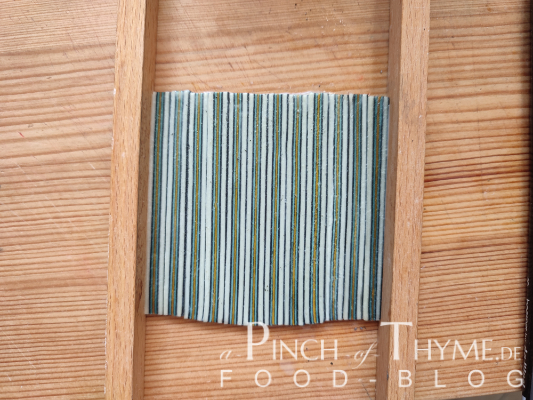
This is what the pattern looks like when it’s fully rolled out. This was a test piece. Here you can also see clearly how the dough gets distorted at the beginning and end.
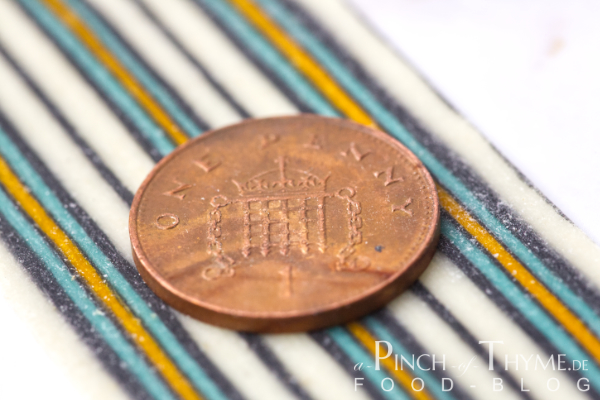
Here is a close-up shot with a British penny for scale. The penny has a diameter of 20.3 mm. According to the CAD (Computer-Aided Design), the width of the thin black line is now 0.3 mm. I was very satisfied with the result.